
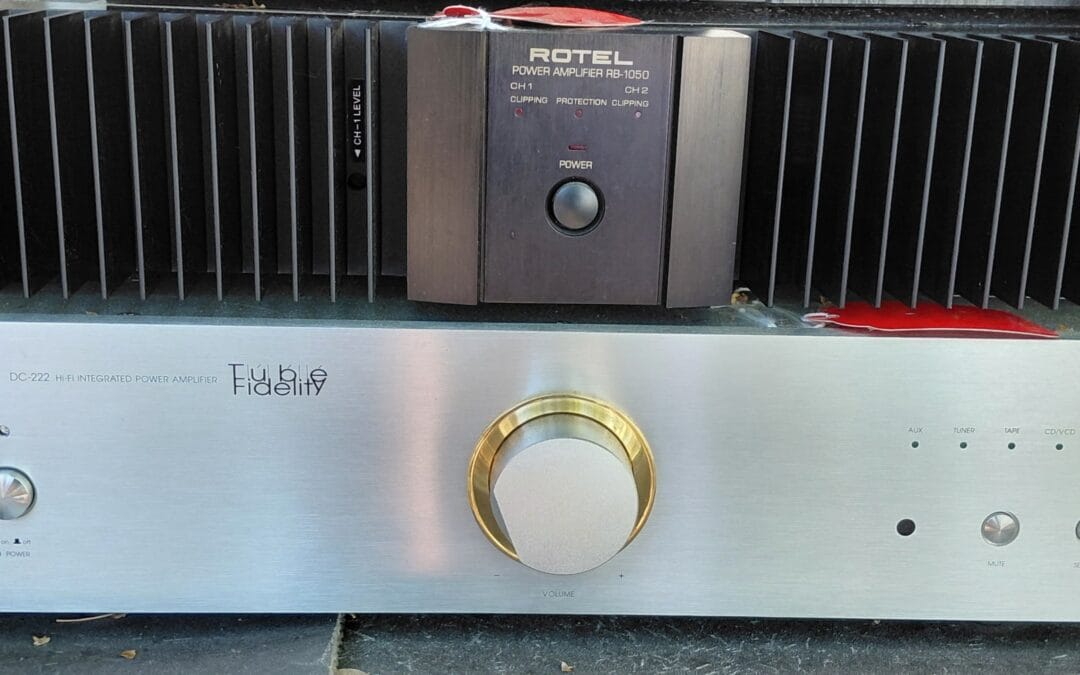
What’s in a Vintage Amplifier?
People ask me this all the time. They’ve got a vintage amplifier sitting in the living room, it sounds great, and they’re curious — what’s actually going on inside this thing? It’s a fair question, and once you understand what’s in there, you start to appreciate why these machines sound the way they do and why they’re worth taking care of.
After 45+ years of working on vintage audio equipment, I’ve opened up more of these than I can count. Here’s what you’re looking at.
The Power Supply: Where It All Starts
The power supply is usually the first thing you see when you open up a vintage amplifier. It’s not the glamorous part — it doesn’t touch the sound directly — but everything else in the unit depends on it.
Its job is to take the AC power coming out of your wall and convert it into clean, stable DC power that the rest of the amplifier can actually use. It does this through a transformer, a rectifier, and a set of filter capacitors. The transformer steps the voltage down, the rectifier converts AC to DC, and the capacitors smooth everything out so the power is stable.
The reason this matters is that those capacitors age over time. The material inside them breaks down, they lose their ability to hold a charge, and the power supply starts delivering uneven voltage to the rest of the circuit. When that happens, you might hear a hum, notice the bass sounds weak, or find that the unit shuts off when you push it. The power supply is almost always where I start when something seems off.
The Preamp Section: Where Your Signal Comes In
Once the power supply is doing its job, the signal from your source — your turntable, tuner, whatever you’re running — comes in through the preamp section. That signal starts very small, and the preamp’s job is to amplify it enough to feed it into the power section.
This is also where your tone controls live. When you adjust the bass or treble, you’re adjusting circuits inside the preamp that boost or cut certain frequencies before the signal moves on.
What makes the preamp section tricky is that small problems here have a big effect on the sound. A capacitor that’s drifted out of spec, a resistor that’s reading a little off — the amplifier keeps playing, nothing dramatic happens, but the sound isn’t quite right. Channel balance, frequency response, clarity — all of it can be affected by something as small as one component that’s no longer within its rated tolerance. This is why proper diagnosis matters. These aren’t problems that announce themselves.
The Power Amp Section: Where the Signal Becomes Sound
The power amp section takes the signal from the preamp and amplifies it to the point where it can actually drive a speaker — move the cone back and forth and create sound you can hear across a room. This section is doing the heavy lifting, and it generates real heat in the process.
That’s why ventilation matters on these units. The components in the power amp section are running at higher voltages and currents than anywhere else in the amplifier. If airflow is blocked and heat builds up, things wear out faster.
Many vintage amplifier designs also include output transformers in this section. Their job is to match the amplifier’s output to the impedance of your speakers. When an output transformer goes bad, the amplifier can appear perfectly functional — powers on, no obvious issues — but it won’t drive speakers properly. That gets misdiagnosed as a speaker problem more often than you’d think.
There are also bias circuits here, which set the operating point for the amplifying components. When the bias drifts — which it does over time — the amplifier can run hotter than it should, start to distort, or become unstable. Checking and adjusting the bias is a standard part of a proper service on any vintage amplifier.
The Speaker Output: The Last Step
This is where the amplified signal leaves the unit and heads to your speakers. Pretty straightforward, but there are a couple of things worth knowing.
Impedance matching is one of them. Connecting speakers with the wrong impedance to a vintage amplifier puts extra stress on the output section, and over time, that can cause damage. It’s worth knowing what your amplifier is rated for and making sure your speakers match.
A lot of vintage designs also include output relays — small switches that connect or disconnect the speakers automatically at startup and shutdown to protect them from voltage spikes. When those relays get dirty or oxidized, the amplifier powers up normally, but no sound comes out. It’s a common issue, and it’s a straightforward fix once you know what you’re dealing with.
Capacitors and Resistors: The Parts Nobody Talks About
Throughout every section of a vintage amplifier, you’ve got hundreds of smaller components — capacitors and resistors — that most people never think about. They don’t amplify anything on their own, but they control how the signal moves through every part of the circuit. They set current levels, filter noise, block DC from areas where it doesn’t belong, and couple the signal between stages.
These components age, and they do it quietly. Resistors drift away from their rated value. Capacitors lose capacitance or develop internal resistance. The changes are gradual, which is why a vintage amplifier that still plays music might sound noticeably different from the same model that’s been properly serviced. The performance has been slipping for years — the owner just doesn’t have anything to compare it against.
When I do component-level repair, a lot of the work is here. The goal isn’t to replace everything — it’s to find the specific parts that have moved outside their rated spec and replace those. That’s what separates a proper repair from just throwing parts at something and hoping it improves.
Why This Is Worth Understanding
Knowing what’s inside a vintage amplifier changes how you think about owning one. You understand why a unit that’s been sitting for 20 years might need service even if it turns on. You understand why heat management matters. You know that a hum or a channel imbalance isn’t necessarily a speaker issue, and you know what to tell a technician when you bring something in.
These are well-engineered machines. Every component in there has a purpose, and when something fails, it affects the whole chain. That’s exactly why they’re worth repairing correctly — not just getting them to turn on, but getting the whole signal path performing the way it was designed to.
Frequently Asked Questions About Vintage Amplifier Components
What are the main components inside a vintage amplifier?
A vintage amplifier has five main systems: the power supply (transformer, rectifier, filter capacitors), the preamp section (signal input, tone controls, coupling components), the power amp section (amplifying devices, bias circuits, output transformers), the speaker output stage, and passive components — resistors and capacitors — running through every part of the circuit.
Why do vintage amplifiers fail as they age?
Capacitor aging is the most common cause. Electrolytic capacitors lose capacitance and increase internal resistance over time, which affects both the power supply and the signal path. Resistors also drift out of tolerance. These changes accumulate over decades, which is why a vintage amplifier that still powers on may be performing well below its original spec.
What does component-level repair mean for a vintage amplifier?
It means diagnosing and replacing specific failed or degraded parts — individual capacitors, resistors, transistors — rather than swapping out entire boards. It requires proper test equipment to measure each component against its rated spec. Done right, it returns the amplifier to its original performance without replacing parts that don’t actually need it.
How do I know if my vintage amplifier needs repair?
Common signs include a persistent hum, one channel sounding different from the other, distortion at certain volume levels, intermittent cutting out, or a relay click at startup with no audio output. Each of those symptoms points toward a specific part of the circuit. A proper diagnosis identifies the exact component causing the problem rather than guessing at it.
Does a vintage amplifier need service if it still turns on?
Turning on and performing correctly are two different things. A vintage amplifier that hasn’t been serviced in 30 or 40 years has aged capacitors, drifted resistors, and worn connections — even if it’s still making sound. A proper service brings it back to what it was designed to do. For an amplifier worth keeping, that’s a meaningful difference.
Have a vintage amplifier you’re not sure about? Contact us for a straight answer on what it needs — or browse our serviced equipment to see what properly repaired vintage audio looks like.