
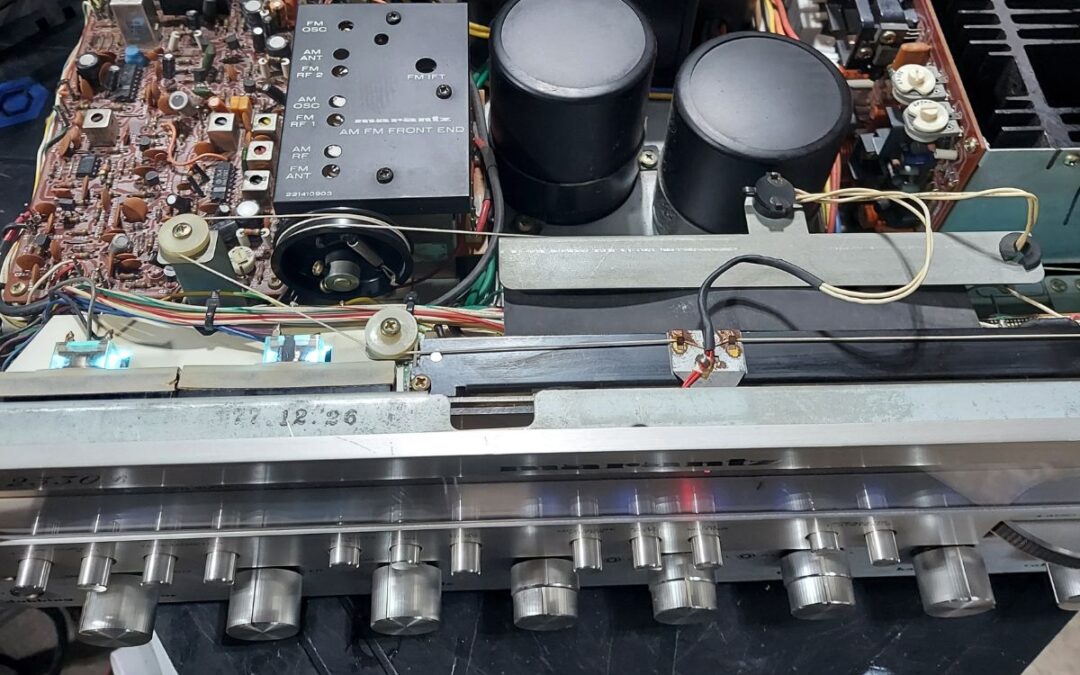
You’ve got a vintage receiver that won’t turn on. It’s been sitting in your garage for a year. You think: I can figure this out myself. I’ll watch some YouTube videos. I’ll get some tools. How hard can it be?
I understand the impulse. But after 45+ years fixing vintage electronics, I can tell you something: DIY repair on vintage equipment has a cost. Sometimes it’s money. Sometimes it’s worse.
Here’s the honest breakdown of what DIY repair really costs you, and when it makes sense to call a professional instead.
The Tools Cost Real Money
You don’t fix vintage electronics with a screwdriver and hope. You need real diagnostic equipment. A multimeter. An oscilloscope if you’re doing anything serious. A soldering iron. Solder. Desoldering tools. Heat-shrink tubing. Component testers.
A decent multimeter runs fifty to a hundred dollars. An oscilloscope runs three hundred to a thousand. A good soldering station runs a hundred and fifty to three hundred. If you’re starting from zero, you’re looking at five hundred dollars minimum just to get equipped for basic DIY repair on vintage electronics.
Most people don’t have this stuff. They borrow it. Or they buy cheap tools that don’t work well. Cheap soldering irons can’t heat components properly. Cheap multimeters give you bad readings. Bad tools lead to bad repairs.
The Knowledge Gap Is Wider Than You Think
Watching YouTube videos makes you feel like you know what you’re doing. Until you open up a vintage receiver and realize you have no idea what you’re looking at.
There are hundreds of different receiver designs. Different circuit topologies. Different component configurations. A video that walks you through fixing one specific model means nothing when you’re looking at a different brand or vintage year.
You don’t know what normal looks like. You don’t know what broken looks like. You might see a component that looks burnt and think “that’s the problem” when it’s actually a symptom of something else. The burnt resistor didn’t cause the failure. It’s the result of the actual problem, a bad capacitor pumping too much current.
Component-level diagnosis takes experience. You have to know where to measure. You have to understand what the readings mean. You have to trace the signal path and understand how the circuit works. Most DIY attempts skip this part and start replacing things randomly.
One Mistake Can Cost More Than Professional Repair
Here’s the real danger with DIY repair on vintage electronics: one mistake can turn a five-hundred-dollar repair into a fifteen-hundred-dollar repair.
Let’s say you’re working on a vintage receiver. You’re desoldering a component from the circuit board. Your soldering iron is too hot, or you hold it there too long. You lift a trace, a tiny copper line on the circuit board that connects components. That trace is now broken. The circuit doesn’t work.
Now you need to repair that lifted trace. You need to solder a tiny wire jumper. If you mess that up, you damage more traces. Fixing lifted traces on vintage circuit boards is not a beginner skill. It costs money when a professional does it. It costs a lot more money when an amateur has to fix the damage afterward.
Or you use the wrong solder. Old solder was lead-based. New solder is lead-free. They have different melting points and flow differently. You might use new solder on a vintage component joint and create a weak connection that fails a week later.
Or you accidentally short out a component with your soldering iron. Pop. That component is now fried. You order a replacement. It arrives in two weeks. Your repair is on hold. Meanwhile, you’re frustrated and considering giving up.
The Time Cost Is Real
DIY repair takes time. A lot of time. A repair that would take me a few hours might take you three weeks of research, trial and error, waiting for parts, and starting over when something doesn’t work.
That’s time you could have spent enjoying your vintage electronics instead of staring at circuit boards trying to figure out what’s wrong.
Time has value. Even if you don’t charge yourself an hourly rate, those three weeks of frustration and research are not free.
When DIY Actually Makes Sense
That said, some DIY repairs on vintage electronics do make sense. Not the electronics repair itself, but the maintenance kind of DIY.
Cleaning. You can absolutely clean a vintage receiver yourself. Compressed air, gentle cloth, maybe some electronics cleaner spray. You’re not opening anything that’s going to hurt you. You’re just removing dust. Do this.
Cable and connection checks. Loose cables cause a lot of “broken” vintage equipment to seem broken when they’re not. Check your RCA cables. Make sure speaker connections are tight. Reseat cables if they look loose. This takes five minutes and costs nothing.
Simple adjustments. Some vintage equipment has adjustable pots for biasing or input levels. If there’s documentation, you can try adjusting these yourself. Worst case, you’ve adjusted it wrong and I can put it back.
These are safe, non-destructive things you can do. They might fix the problem. They won’t make things worse.
When You Need a Professional
If your vintage electronics don’t power on. If they sound wrong. If there’s any sign of internal damage. If you need to open the chassis and work on components inside. That’s when you call a professional.
A technician has the tools. The experience. The knowledge to diagnose the actual problem instead of guessing. If something goes wrong, they’re liable. They have insurance. They know how to fix mistakes.
The cost of professional repair might seem high. But it’s usually less than the cost of trying DIY, making it worse, and then bringing it to a professional anyway with extra damage to repair.
The Math Is Simple
Let’s say your vintage receiver needs repair. Professional diagnostic: one hundred dollars. Professional repair: five hundred dollars. Total: six hundred dollars.
DIY attempt: five hundred dollars in tools. Three weeks of research and frustration. One lifted trace from bad soldering. Now you need professional repair anyway, but now it’s six hundred for the original repair plus two hundred for the damage you caused. Total: thirteen hundred dollars.
The professional repair was half the price.
This isn’t theory. I see this more than people expect. Someone tries to fix their vintage electronics, makes it worse, and ends up paying more.
Respect the Complexity
Vintage electronics are complex. They deserve respect. Sometimes that respect means admitting you need professional help.
Clean your equipment. Check your cables. Do the safe stuff. But if you’re looking at opening the chassis and working on components inside, that’s a professional job.
You’ll save time. You’ll save money. And you’ll keep your vintage equipment working right.
Want to talk about whether your vintage electronics are worth repairing? Contact us for a diagnostic, and let’s figure out the best path forward.